
[Linux] Assigning a Static IP in Ubuntu
Most devices use DHCP for IP address assignment.
It’s convenient because IP addresses are assigned automatically, requiring little effort from network administrators.
However, during development or testing, having the IP address change constantly can be quite troublesome.
This creates a need for either a temporary or permanent static IP.
Here’s how to assign a static IP in an Ubuntu environment.
Assigning a Static IP Address
Ubuntu stores network-related scripts in the /etc/netplan/ directory within the Linux filesystem.
In Ubuntu 22.04, if you check /etc/netplan/,
you will find the 01-network-manager-all.yaml file.
A YAML file is essentially a data set file in the format label: data.
Let’s look at the file content:
# Let NetworkManager manage all devices on this system
network:
  version: 2
  renderer: NetworkManager
It’s written in label: data format,
with sub-properties distinguished by indentation (indent=2).
A renderer attribute value of NetworkManager, as seen above, is used for desktop images with GUI packages installed.
For standard server images without a GUI, you can use networkd.
Based on my desktop, the network ID is 192.168.11,
so I won’t change the 192.168.11. portion.
First, identify the network device name.
$ ifconfig
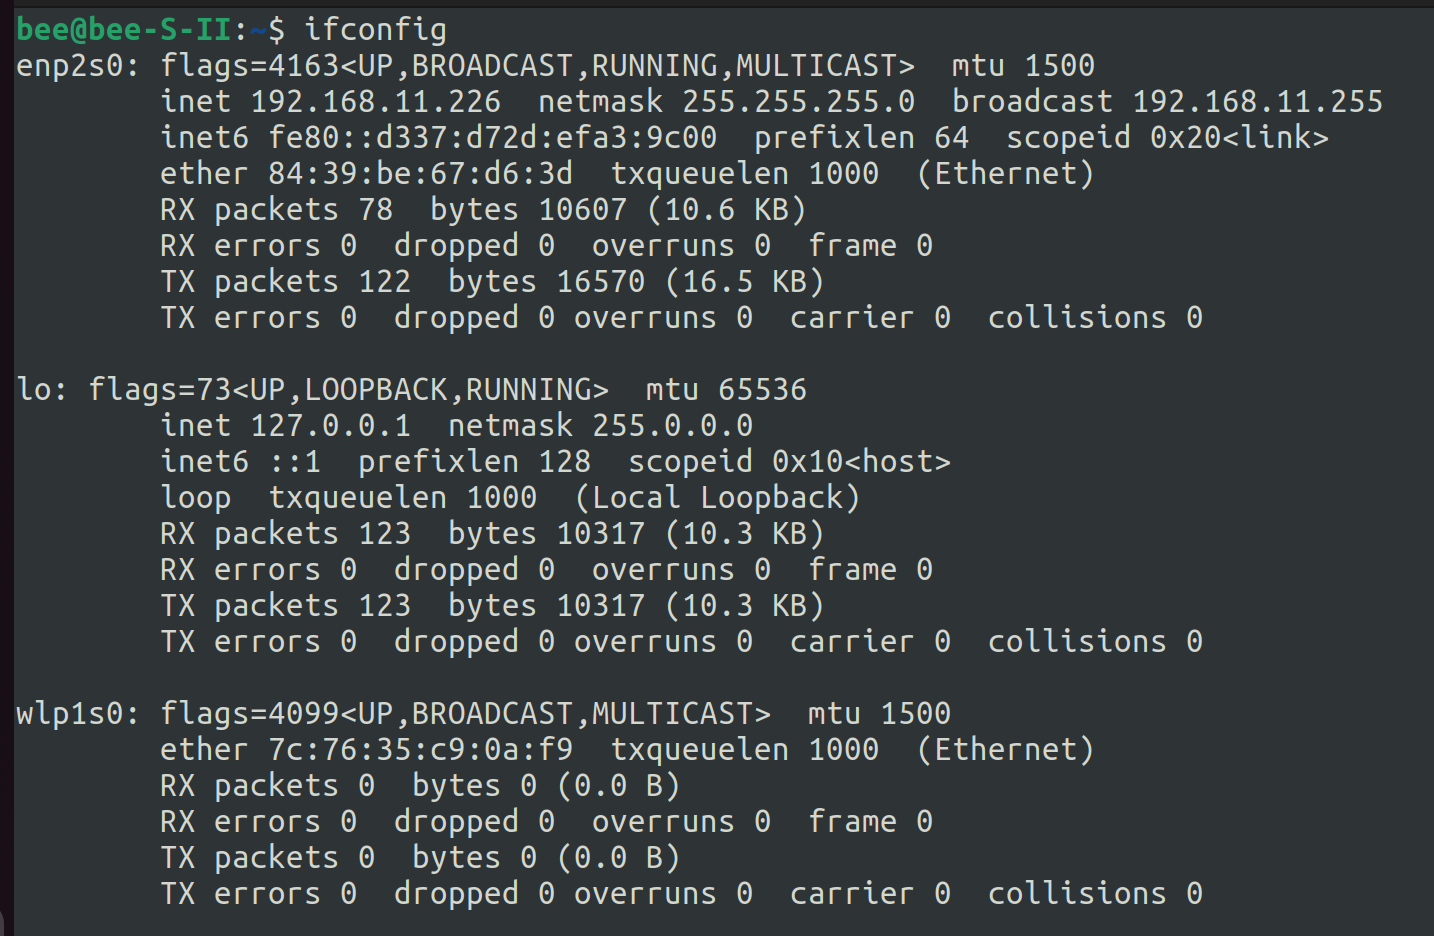
[picture 1] ifconfig network list
The Ethernet device name is enp2s0, and the Wi-Fi device name is wlp1s0.
Ethernet
This is the modified version to assign a static IP address of 192.168.11.100 instead of 192.168.11.???
# Let NetworkManager manage all devices on this system
network:
  version: 2
  renderer: NetworkManager
  ethernets:
    enp2s0:
      dhcp4: no
      addresses: [192.168.11.100/24]
      gateway4: 192.168.11.1
Wi-Fi
This is the modified version to assign a static IP address of 192.168.11.100 instead of 192.168.11.???
# Let NetworkManager manage all devices on this system
network:
  version: 2
  renderer: NetworkManager
  wifis:
    wlp1s0:
      optional: true
      access-points:
        "SSID-NAME":
          password: "AP's password"
      dhcp4: no
      addresses: [192.168.11.100/24]
      gateway4: 192.168.11.1
Applying the Changes
If you lose internet access, simply change the dhcp4 attribute value back to yes.
(Note: You might see both the static and randomly assigned addresses simultaneously.)
You can either reboot the system or use the command sudo netplan apply.

Leave a comment